Showing posts with label Gundam Unicorn. Show all posts

January 1, 2014

Disappointment with the 1/100 MG Jesta


I just cannot get used to the hands on this kit. They were molded separately from the normal trees- and it's that new molding technology Bandai has been using. However, as you will soon discover if you try to move the fingers too far they will go flying. Already I have had one finger go flying after I put too much pressure on it. I can't find it, and I don't have the patience to look any further than I did. I am going to see if I can order some aftermarket parts instead.

The dual peg system is just awful. There is one peg in the hand and one in the rifle that both fit into the same grove. Since the pegs are free to rotate up and down, they never line up and make it more of a pain in the ass to get the hands the way you want them.

Compounding these issues is the fact that he cannot hold his weapon very well. I am getting limp-wristing already, and immediately I suspect the construction of the hands.

Replacement parts for 1/100 MGs can be found here. Hobbylink Japan gets free advertising from me because they are saving my ass by offering an availability of kits and aftermarket parts. I have done business with them and I trust them 100%. Shipping has been early or on time.

EFSF Hands 1
Verniers (Boosters)

December 31, 2013

Initial Thoughts on the 1/100 MG Jesta


I decided to run out the other day to Hobby Lobby and I picked up the last pair of plastic nippers. While my current pair is fine, it is about time I replace them for something a bit sharper. I will donate the pair to a friend who wants to get into model building. It's a nice store- unfortunately the closest one back home is 30-40 miles away. I'd rather suck it up and go to Pier 1 Imports 3 miles away. ANYWAYS, back on topic.

I decided to work on my MG Jesta. There is zero way in hell that I would have the time to build a complete PG Strike Gundam. The Jesta came highly recommended- and I didn't feel like fiddling with a real grade. I figured I would post my initial thoughts of the kit, which will be translated later into a video for RobsGamingNetwork.

I really like the construction of this kit. Outside of Wing master grades I am not terribly familiar with bread and butter grunt suits; or other gundams for that matter. He feels bigger and fatter than a Gundam Wing kit. This isn't a bad thing- I really like the proportions and how large the kit came out. I am very impressed with the LED that can be put into this kit. It isn't included in the box. Since I don't want to import Bandai's LED unit, I will design a system myself that can be plugged in. I wish all gundam chests had a cavity for this thing so I could light up the eyes for all of my master grades. That would be amazing.

There is a panel on the back that slides out with the neck and head assembly. Put your LED unit in their and boom! You can light the head up. You have to disassemble the kit (albeit very little) to turn the thing off, but that's ok. They made the process very painless. The head and visor remind me of master chief from halo, I a new to Gundam Unicorn stuff but I have always loved grunt suits- especially Zakus.

The colors are great, but it's going to be difficult mixing that very dark bluish-green to get the desired effect. I am hoping Testors makes a WW-II camo paint that is close to that shade. I had to experiment with Epyon, so I don't mind dipping my toes in (not into the paint) to see what mix is right for this kit. I love the arm joints and the gear detail that they added. I can't decide what to paint those joint areas. The shoulder and arm mechanisms are awesome. They can pivot up at 30 degrees, adding more mobility and movement to a kit that can already pull some pretty awesome poses.

Leg construction is simple, but there are a lot of details that make someone like me happy. My only complaint so far with the kit is the fragile hands. They are taking PG hand technology and scaling it down a little bit. I have nothing wrong with it- but all of the fingers are on ball joints. This makes it more difficult to keep the fingers in place as they want to fall off all the time. Be very careful of this fact. However, there is a peg on the palm of the hand that comes out and helps to secure the weapons. I have no doubt that the Jesta will be able to hold his weapons securely. I had a little fun here for the holidays, but this particular project will be put on hold as I get painting facilities up for 1/100 MG Wing Zero Proto.

August 26, 2012

Yonem Kirks Pretty Much There

Well, the parts came out of the shop tonight looking great. Originally I used green puddy to work on the seam lines, and despite primering, they showed up a little bit. To rectify this, I went and purchased Tamiya X-22 Clear and applied it to the seam line areas. Sure enough, the second layer of tan drastically reduced their appearance. Gotta squint real hard to see them now. I am by no means the perfect modeler, but after some weathing I will be fully satisfied with my 1/144 Zaku Sniper: Yonem Kirks Edition.

I still need to add parts to the rifle. Namely the scope lense.

Insert generic pose shot

I can barely tell where the seam lines were.

Cameras often expose flaws we do not see with the naked eye. I will go back and work on that polycap you can see under the shoulder.


I am getting MUCH, MUCH better at filling seam lines. That shoulder piece was originally two halves.


The backpack can be touched up with dry brushing. And maybe a little bit of brush painting.

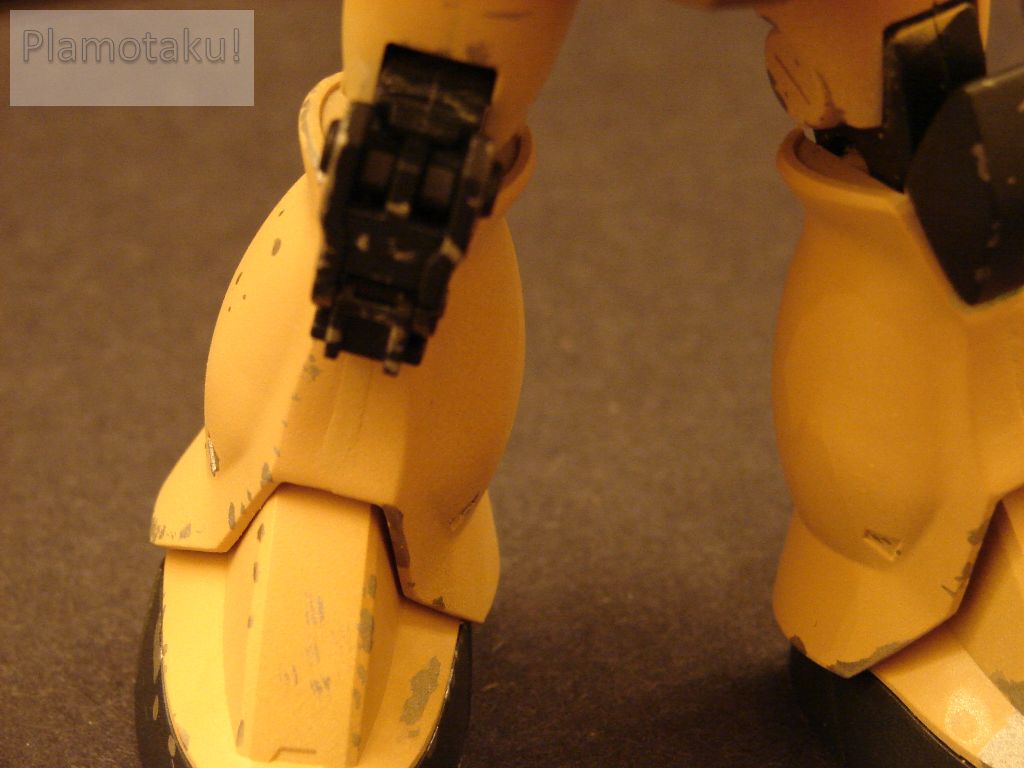
This picture is a good example of laziness. As much as I sanded the back of the left leg, the puddy is still visible. Better than a seam line, I suppose. Right leg was done properly. Next time I will be a little more rough!


August 1, 2012

1/144 Zaku Sniper Progress

Size comparison to a stick of deoderant. 1/144 kits are typically about the size of a pack of cigarettes. Don't smoke.

It took about 3 hours of work assembling the model. It is something I normally don't do- but in order to see where the seam lines are, I went ahead and assembled the kit. The trick is to cut the pegs at an angle so that the parts can be easily separated later.

I think I will attack this by painting the black parts gunmetal, then build around them and mask them to paint the major colors. For a 2012 kit there are some seam lines, but they are somewhere between minimal and moderate.

This guy is going to be a "really quick" model compared to a Master Grade, but I am going to take my time on this because the scale is a little bit more of a challenge compared to 1/100 MG. Compared to another non-Gundam static model, the work is a breeze.

July 31, 2012

1/144 Zaku Sniper Type Unbox

I am happy that my kit shipped from GGInfinite on time (slightly early) and in mint condition. I cracked this baby open, and I am impressed at the level of detail for a High Grade. No surprise I suppose- The kit's official name is MS-05L Zaku I Sniper Type [Yonem Kirks] and it is a 2012 release from Gundam Unicorn.

I wanted to document this kit carefully because I have not seen any English reviews of it on the internet- either on a website, blog or on youtube. THUS, if I have to be one of the first, I want to offer some details regarding this 2012 High Grade.


With Mom out of state, the cats tend to lounge with me. This is a rare photo- the cat in the back, Kelly, tends to not like sleeping with the others, but minds them sometimes when she is too sleepy to care.

Really nice work on the box art, Bandai. I had to pay a little more to get this kit in, but the price and subject were well worth it.I wanted to start a Zaku collection. I like sniper rifles, so this kit is a nice marriage of the two!

Side of the box. They always paint the kits up here, so you won't be getting that if you build it straight out of the box. A selling point of newer Master Grades is to include a "this is what you get when you finish building it out of the box" photo.


Action base compatible. I will have mine standing on a custom wood base, as shown in the pose on the left.


This is what you get when you crack the box open. I removed the plastic bags in advance. There is a lot of plastic for a HG! Not a BAD thing- I love extra detail wherever I can get it.

A Plate, including parts for the legs and feet. Right off the bat, first impressions are good. Hopefully, I won't have to deal with much seamwork.

Plate A2.

Plate A3. Parts for the chest. You won't be getting these parts in a darker brown- and I question why Bandai went with this Olive Drab over the correct Dark Tan. Regardless, I bought paint and I intend on painting these parts to suit my aesthetic tastes.


Plate B. Shoulder armor stuff.

Plate C. Misc parts and the Zaku Rifle, which I am contemplating leaving on the tree if I can't throw the rifle somewhere on his body.
Plate B2? Off the top of my head I cannot remember. More parts for the arms, head and shoulders.

Plate D1. Parts for the arms and sniper rifle. Already I can tell this will require some seamwork, but who knows? I may put some color apps in there.

Plate D2. Misc parts.

Plate... I forget. These are extra barrels for the sniper rifle that fit on the backpack, which seems to be the energy unit for the rifle.

Polycaps and some mesh piping. I have no clue where the mesh piping goes, but we will find out.

Backpack unit in puke green. In the photoshoot on the box and in the manual, they have the backpack colored a desert tan.


Excellent quality for a HG manual.