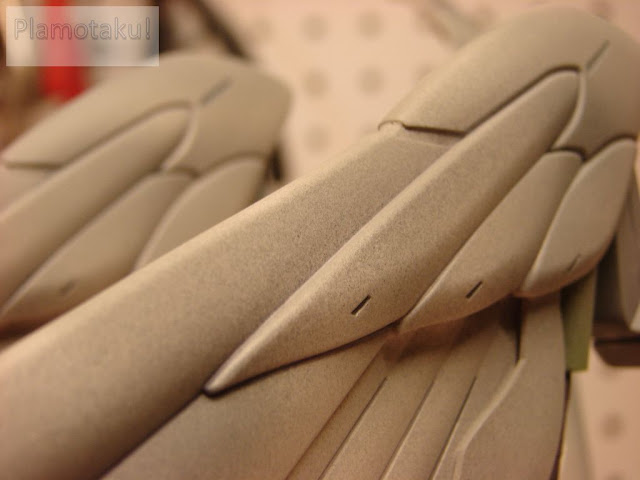
It's a little too subtle for me, but with a SA brush and a 1st attempt I am not complaining. As a roommate once told me: sometimes being conservative is the best route.
I will be painting the rest of the kit with this technique. I had to paint the wing connectors on the two back wings, so I could not mask them off (risk ripping paint off) to paint the back wings tonight. They will look gorgeous when done. To me, anyways.
I've taken a new step in my model building hobby.
The tank is poor old stunt c**k. I use him to test paint application and flow before it touches my project. It has SAVED countless parts from a bad paint job. *laughs*
Finished sanding all white parts with 400 grit paper. Everything else
needs to be sanded down with 400 grit paper. Then everything needs
sanding with 600 grit paper. Then everything needs to be washed, dried,
inspected then primered. I'd like to move on this project because by the
end of March I am going to have around 4-5 additional projects in a
que.
I tried some shading this morning and I think the results came out
fantastic. I used a flat black and very lightly sprayed some on where
the panel lines were as well as on the outside of shapes on the surface.
It isn't as fine as I'd like it to be (small lines), but for a SA brush
it is acceptable. I really like the way it came out. I then sprayed on a
neutral gray. You can notice the tone color difference.
Depending on
how bad the white applies I may need to add another layer of shading,
but I am highly suspicious that flat black versus flat white is NOT a
fight I want to pick, so I may go with a subtle shading effect.
The head has a nasty seam line on top and in front of the V-fin. Took
care of that and puddy'd the top of the head. Waiting for it all to dry
so I can go sand it later. Also puddy'd any other stuff that needed it.
Shoulder units had some bad seam lines which are now taken care of.


No comments:
Post a Comment